

Electromagnetic DIY Electronic Kit Long-range Projectile High-voltage Coil Booster Circuit Board Production Welding Electronic Science Experiment

 Direct purchase from the factory
Zabezpečená platba

 Dárek zdarma
 Dopravní podmínky
 Reklamační podmínky
Dárek Zdarma
Vítejte v Roymall, vaší profesionální obchodní stránce pro prémiové dárky. Velmi si vážíme vaší podpory a jako poděkování nabízíme dárek zdarma s každým nákupem. Připraveni prozkoumat naši sbírku? Prohlédněte si náš výběr, uskutečněte objednávku a těšte se na dárek zdarma s vaším nákupem.Dopravní Podmínky
Objednávky zpracováváme do 2 dnů. Objednávky vložené o víkendu nebo svátcích budou zpracovány následující pracovní den.Standardní doba dodání je 5-7 pracovních dnů.Doba dodání se může lišit v závislosti na destinaci.1. Reklamační Podmínky
Přijímáme pouze vrácení zboží zakoupeného přímo z roymall.com. Dárky zdarma nelze vrátit. Vrácené zboží musí být nepoužité a v původním obalu.Vrácení zpracujeme do 3-5 pracovních dnů po obdržení.Personalizované předměty nelze vrátit.Kontaktujte nás: service@roymall.com nebo Whatsapp: +86193598494712.Podmínky Vrácení Peněz
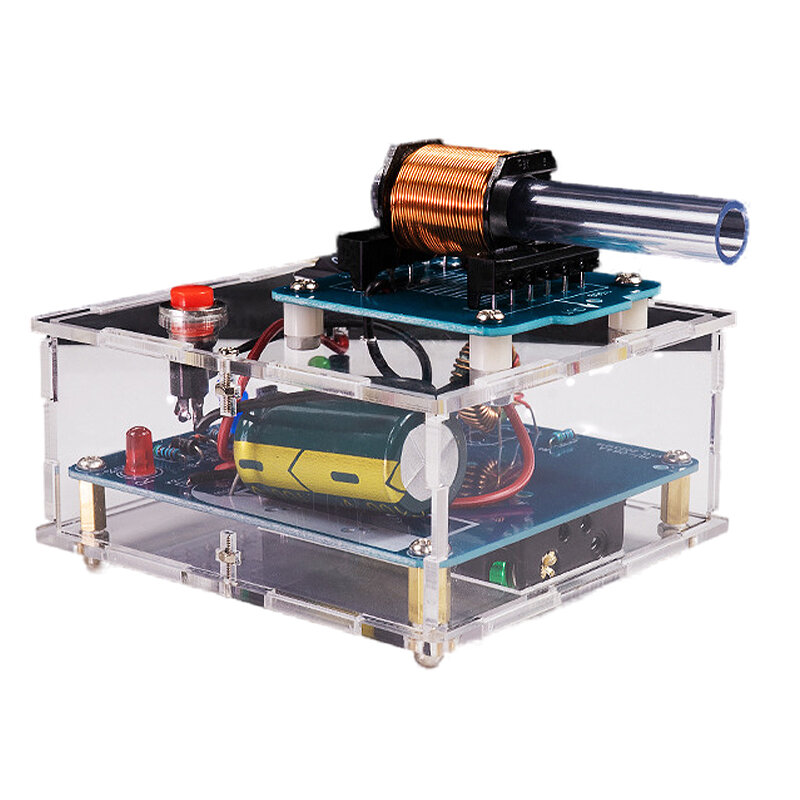
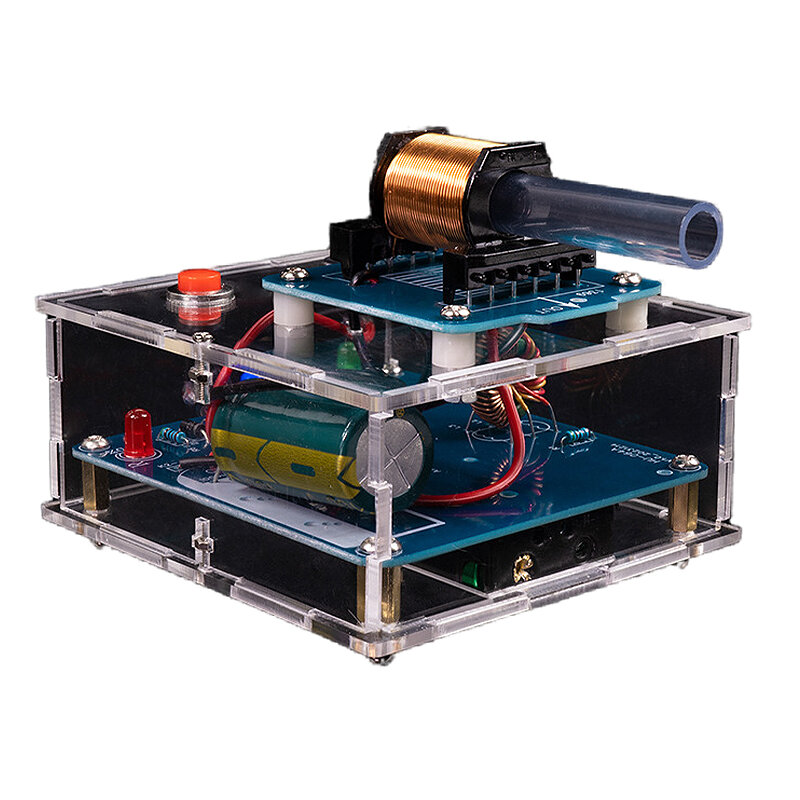
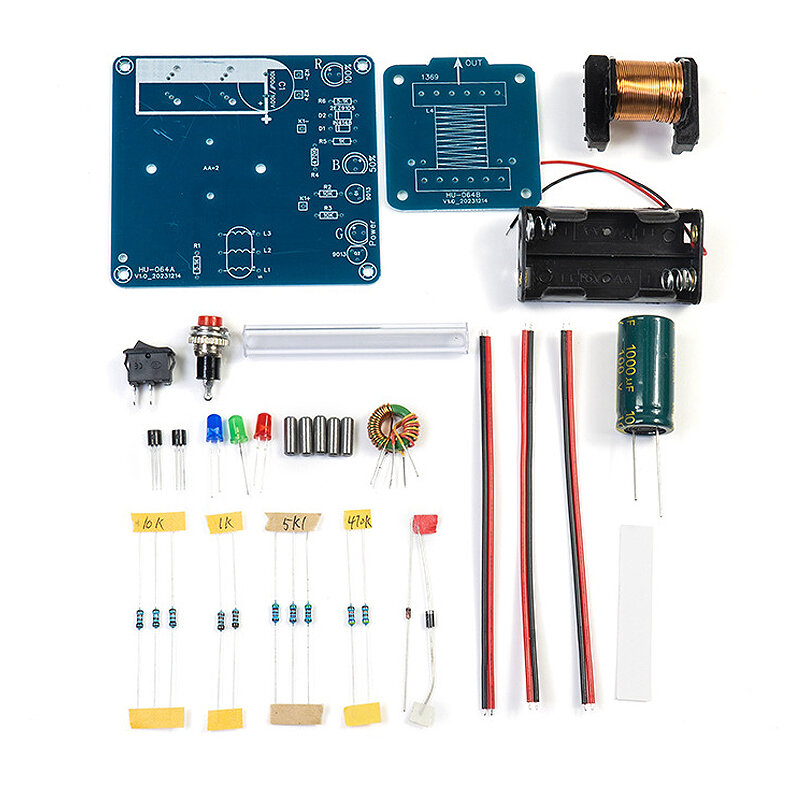
Obdržíte plnou náhradu po obdržení a kontrole vráceného zboží. Náklady na dopravu nejsou vratné.Kontaktujte nás: service@roymall.com nebo Whatsapp: +8619359849471Kit name: HU-064 upgraded electromagnetic gun production kit
Power supply method: 2 AA batteries 3V DC (you need to bring your own batteries)
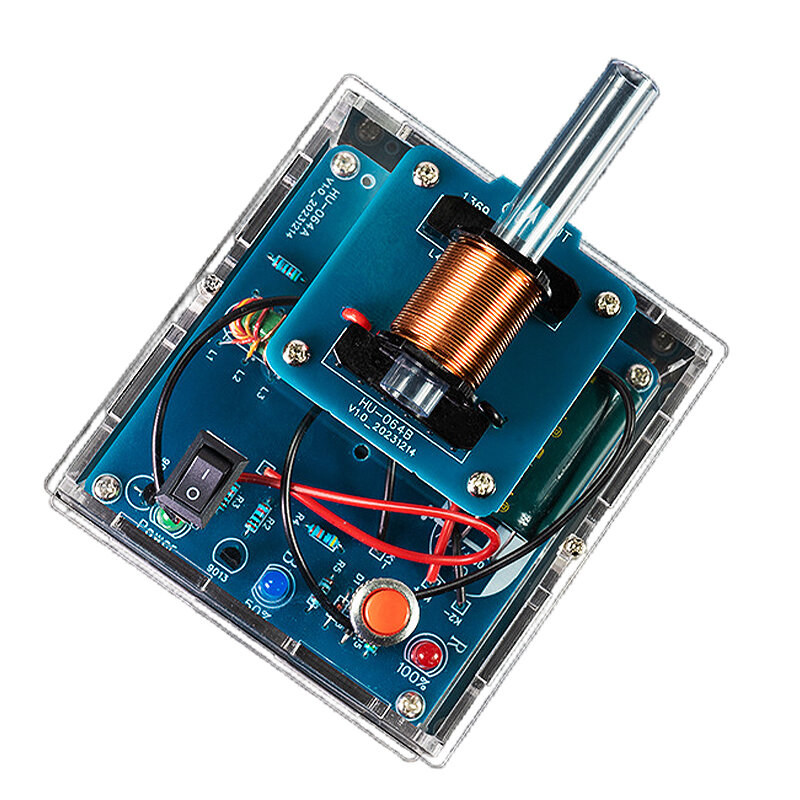
PCB size: A board 85x78mm B board 50x53mm
Accumulation current: 50~65mA
Emission current: 70~80mA
Working voltage: 3V
NOTE: This is a DIY kit, you need to solder.
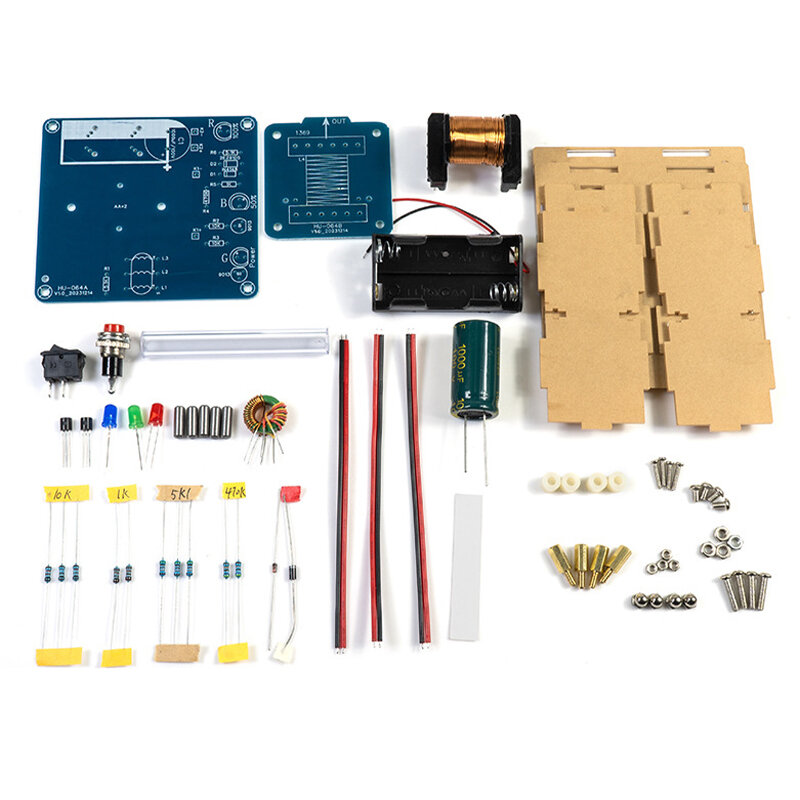
If you need a shell you need to select (Type: Parts + shell)
>>>Manual: Click here to open<<<
Features:
1. Electromagnetic gun is a weapontechnology that uses electromagnetic force to accelerate launched objects. It uses electromagnetic pulses to accelerate projectiles to a high speed and then launch them at a very high speed.
2. The upgraded electromagnetic gun kit not only adds a power storage circuit but also a level indication circuit, making the electromagnetic gun charge faster, have a longer range, and launch faster! This kit is suitable for welding practice, electronic experiments and DIY Enthusiast.
3. Please do not shoot at people or fragile objects during use to avoid the risk of firing!
Package Includes:
1x Parts Kit
1x Shell(Optional)
Use Method:
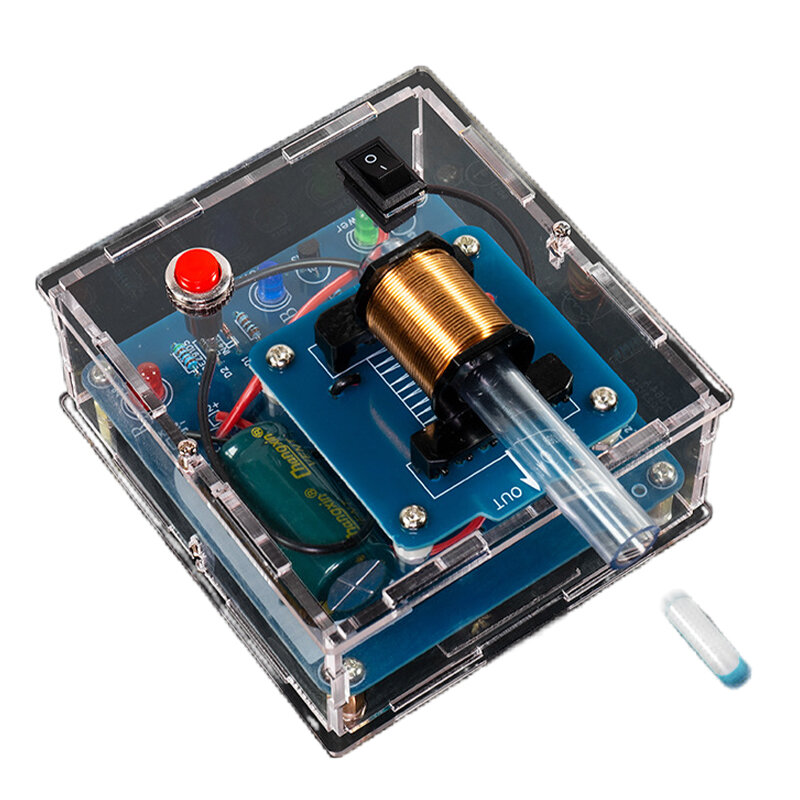
1. Turn on the power switch (ship switch K1), and the green LED lights up.
2. Wait for about 10 to 30 seconds, the blue light will turn on, and the charge energy will reach about half.
3. Insert the projectile from the back of thebarrel. Press the launch button (circular button K2), the cannonball will fly
4. Take out thebarrel and launch is completed
Note: The red light turns on when the electromagnetic gun is fully charged, because it takes a long time to fully charge the electromagnetic gun.
And the battery power gradually decreases, the red light may not light up, when the blue light turns on, it can launch
High voltage is dangerous!!!
If repair welding is required before installing the capacitor or during use, please discharge the capacitor first.
(Use a plastic-covered wire to expose copper wires at both ends, hold the plastic-covered part and touch it with the copper wires at both ends.
The two legs of the capacitor must be discharged), otherwise the capacitor will cause a short circuit and cause danger!


